Lower back pain and tight hips are shared complaints amongst many people. According to the National Institute of Health (NIH.gov), back pain is a common reason for work absences. Causes for these ailments range from overuse, underuse, scoliosis, sprains, strains, arthritis, disc issues, inflammation, sciatica, and even kidney stones. If a healthcare professional rules out significant illness and injury, restorative yoga for hip and back pain is an option.
Restorative yoga focuses on healing the body. It is a passive form of yoga that encourages tension release from specific areas. Restorative yoga poses are held for five minutes or more with particular attention brought to the breath. For this reason, it is not uncommon for a 60-minute yoga class to focus on only three to five yoga poses. It is essential to understand this before entering into a therapeutic restorative session, as holding these relaxing poses does require mental focus and surrender.
Practicing a restorative yoga class at home is one way to determine if this type of class is best for your needs. This type of yoga, along with specific poses, are known to help better sleep and reduce insomnia. Restorative yoga for hip and back pain back pain is shared below. If there is pain at any time, discontinue the practice and contact your healthcare provider. Likewise, if you have sustained a lower back or hip injury, please share this sequence with your medical professional for sign-off before attempting.
Here is our recommended sequence of restorative yoga for hip and back pain:
- Supported Forward Fold
- Supported Supine Spinal Twist
- Supported Wide Leg Forward Fold
- Supported Bridge Pose
- Supported Savasana
Yoga Props:
For restorative yoga, props help to support the body. Support allows the practitioner to sink deeper into the pose, relaxing or melting the body over the prop. This sequence requires blocks, a bolster, and an optional blanket. If you do not have props at home, please reference our home prop alternatives or for a quick option:
- Yoga mat (or several towels)
- Block (You can use a small stack of books)
- Bolster (Grab a sofa cushion)
- Blanket (optional)
Warm-Up:
Warming up the body is essential no matter which type of yoga one is going to practice. A warm-up loosens, warms, and preps the muscles for the asanas to come. Additionally, these moves introduce the yogi to feel into their body, something we mostly take for granted as we move through the world. Finally, a warm-up provides the opportunity to clear the mind, calms the nerves, and bring focus and attention to the breath. Restorative yoga for hip and back pain is the focus of the movements below and will bring awareness to the lower back and hips.
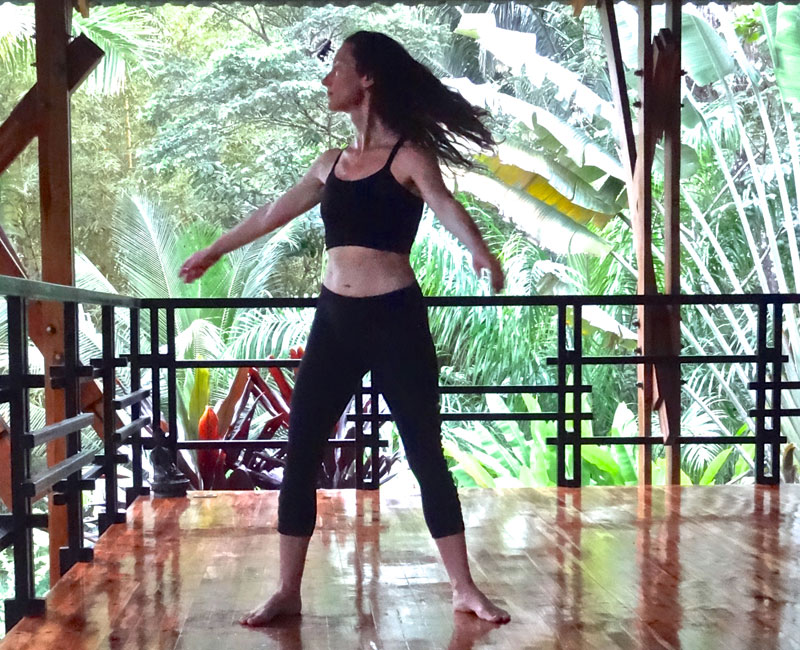
Knocking on heavens door
Stand with the feet hip-width apart or a little wider. Begin shifting your weight from side to side while starting to twist at the waist. Allow the arms to hang heavy and slowly feel more weight on one side and then the other. The knees should be relaxed and the heel may pop up slightly. Alternate between sides. Allow the pelvis to turn, building momentum and then twisting to the opposite side. Twist left – twist right. The toes may pivot as the arms move from side to side, swinging independently and relying on gravity. The left wrist may hit the right hip on one twist, with the opposite occurring on the other.
Allow the body to remain loose in this swinging motion for as long as it feels good. The challenge is to let go and let the body move with momentum. If you begin to feel dizzy or disoriented, or you are no longer enjoying the movement, gently slow down the twisting motion until you come to a stop.
Ragdoll
Still, with feet about hip-width apart, take a nice deep inhale in. On the exhale, gently bend forward at the hips, allowing the head to hang heavy as it reaches towards the floor. Feel free to take a generous bend in the knees. Continue breathing, noticing how the skin on the back stretches and releases with each inhale and exhale. If possible, imagine sending breath and expansion to the lower back.

When ready, rise to a standing position. Regaining composure and body awareness, slowly lower the body to the ground and find a comfortable seated position.
Seated forward fold
Stretch the legs out, straight in front of you into a staff pose. Reach the crown of the head towards the ceiling while inhaling, slowly raising the arms upward. On the exhale, hinge forward at the hips, draping the torso over the legs, and hold this seated forward fold position for about five breaths. As with the last pose, try to imagine the lower back releasing and creating more space than was previously there. Don’t worry about the depth of the stretch – focus on what feels good. The knees can be bent or straight. Place on the hands on the thighs, knees, shins, or toes as appropriate for each body and preference. Hold for five to ten breaths and return to an upright seated position.
Seated twists
Assuming the legs are still outstretched in front of the body, aka staff pose, on the inhale – bring the soul of the right foot to the floor, bending the knee. Exhale, twisting the torso to the right. If accessible, bring the left elbow over the right knee, remaining in the seated twist for about six breaths.
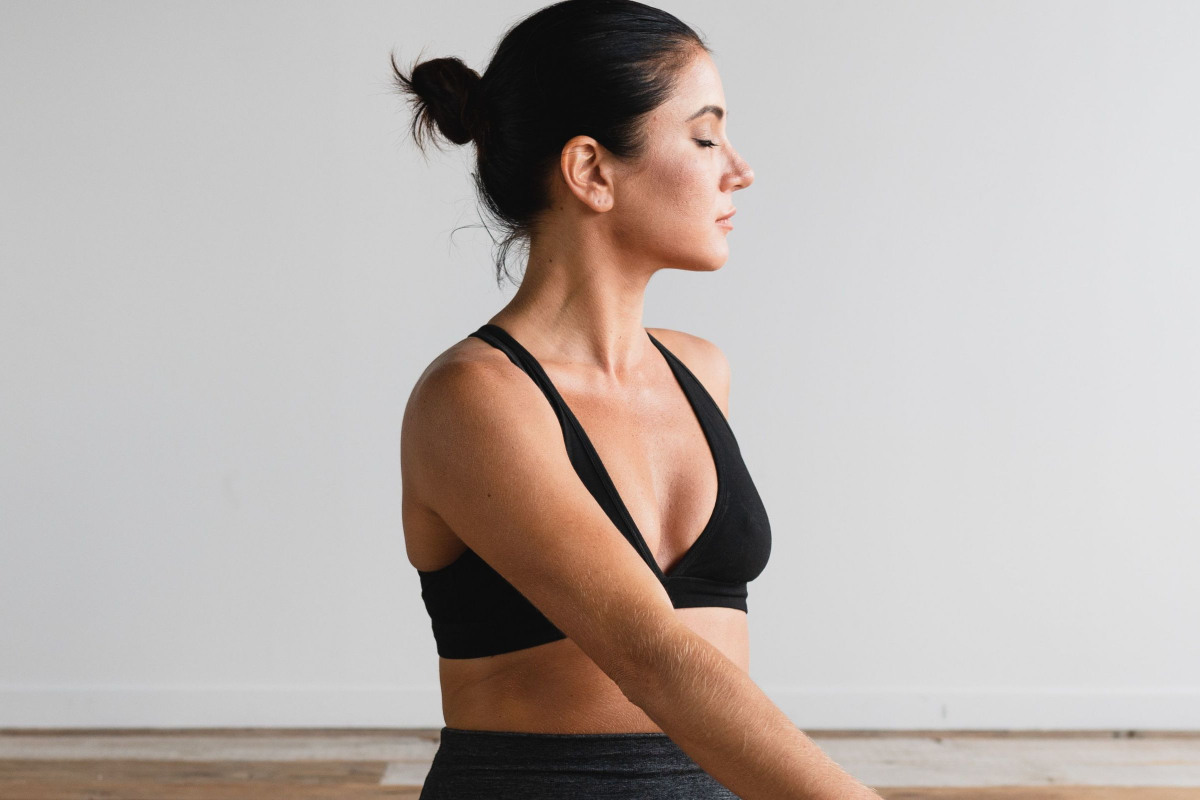
Release the right knee and move to the opposite side; hold the twist for about six breaths.
If there is any pain or strain, slowly release out of the twist. If it feels good for the body, see if there is an opportunity to go deeper into the twist on each inhale and create additional space on the exhale.
Restorative yoga for hip and back pain often focus on twists, which are an excellent way to open the lower back and the hip area.
Return to a staff pose or seated crisscrossed leg position, whichever is most comfortable. Continue to breathe in and out, bringing your attention and focus to the breath. If it feels comfortable, close your eyes and continue breathing at an average pace.
- With the eyes closed, use your 3rd eye or imagination to picture 5 scenes that bring you joy.
- Next, bring your attention to your surroundings. Identify four sounds you can hear at this moment.
- Now focus on three things you can feel – perhaps the ground supporting you, the clothes against your skin, the wind or sun on your face.
- Notice any scents around you and identify two things you can smell.
- Finally, bring awareness to your taste. What is one thing you can taste at this moment?
Allow the eyes to flutter open. Notice if there has been any tension released from the lower back or hip area. The warm-up for this sequence is now complete.
As we move to the sequence of restorative yoga for hip and back pain, it may be wise to grab a timer and set it for the recommended duration of the asana.
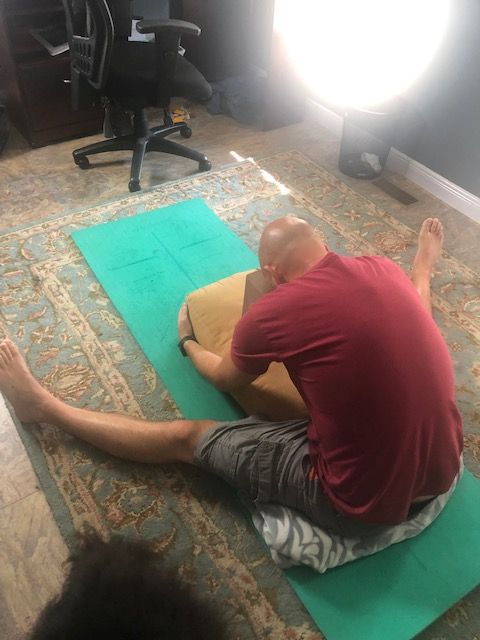
1. Supported Forward Fold – Recommended Pose Duration: 10 Minutes.
- Place a folded blanket underneath your seat to help tilt the pelvis forward and create length in the spine.
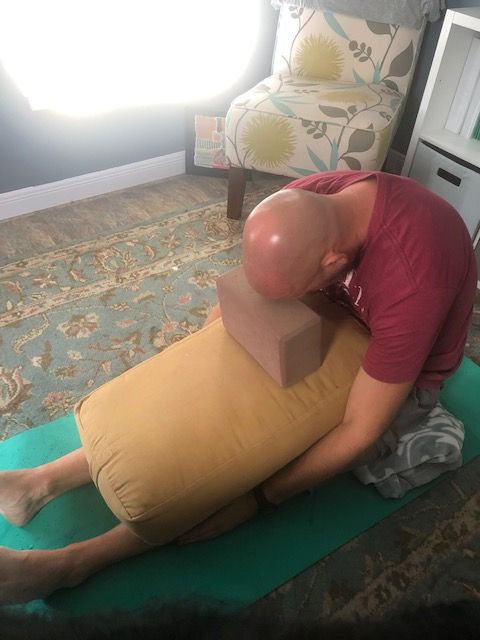
- Stretch the legs out in front of you, and place your bolster resting on the tops of your legs
- Place a block on top of your bolster. Let the legs completely relax, and the feet splay out to the sides of your mat.
- On an exhale breath, let the chest meltdown and the forehead rest on the block. Invite the tops of the shoulders to soften and lengthen down as the back opens and relaxes. *As the back body opens, feel free to lower or remove the block.
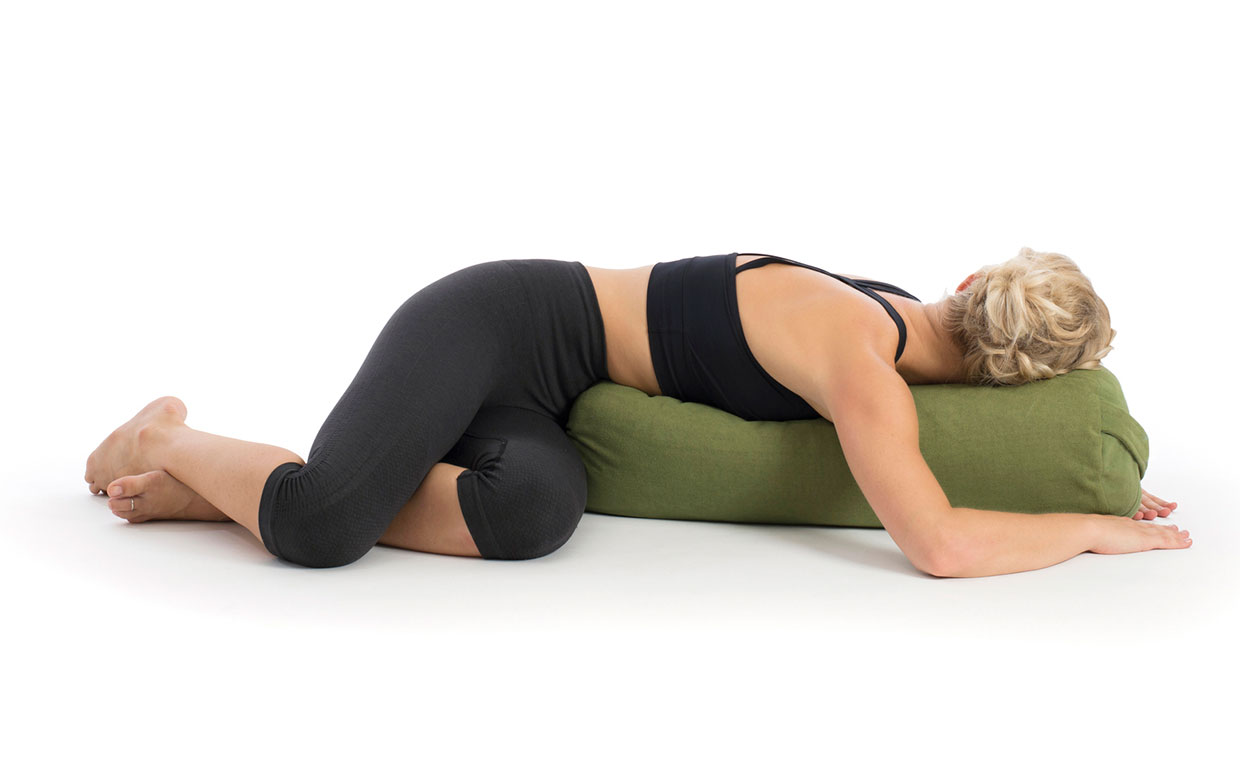
2. Supported Supine Spinal Twist – Recommended duration: 10 minutes.
This supported, gentle twist is a beautiful posture to help relieve stress and tension along the sides and mid-section of the body. It’s also a great tool to aid digestion.
- Place the bolster behind the body, vertical length, and in the middle of your mat.
- From a seated position, bend both knees, and let them spill over to the right.
- Bring the bolster directly in line with your right hip. On an inhale breath – grow tall from the ground up.
- Let the chest melt over the bolster and bring the left ear to the bolster on an exhale breath.
- For an added twist – switch the position of your head, bringing the right ear to the bolster. Stay for 5 minutes and repeat on the other side for an additional 5 minutes.
3. Supported Wide Leg Forward Fold – Recommended Duration: 5 Minutes.
- Find a seat on your blanket – this is especially important if you lack hip mobility and flexibility. By elevating the backside, your pelvis can find a natural tilt, which lengthens the lower back, and in turn, helps open your hips to new possibilities.
- Place a bolster between your legs, connecting with your midline, and vertically facing. Place a block on top of the bolster – either second to lowest or lowest height. On an inhale breath – sit up tall and find length in the back body. On an exhale breath – let your chest soften over the bolster and forehead connect with the block. Stay for 5 minutes. Feel free to lower or remove the block as the hips soften and open.
4. Supported Bridge Pose – Recommended duration: 10 minutes.
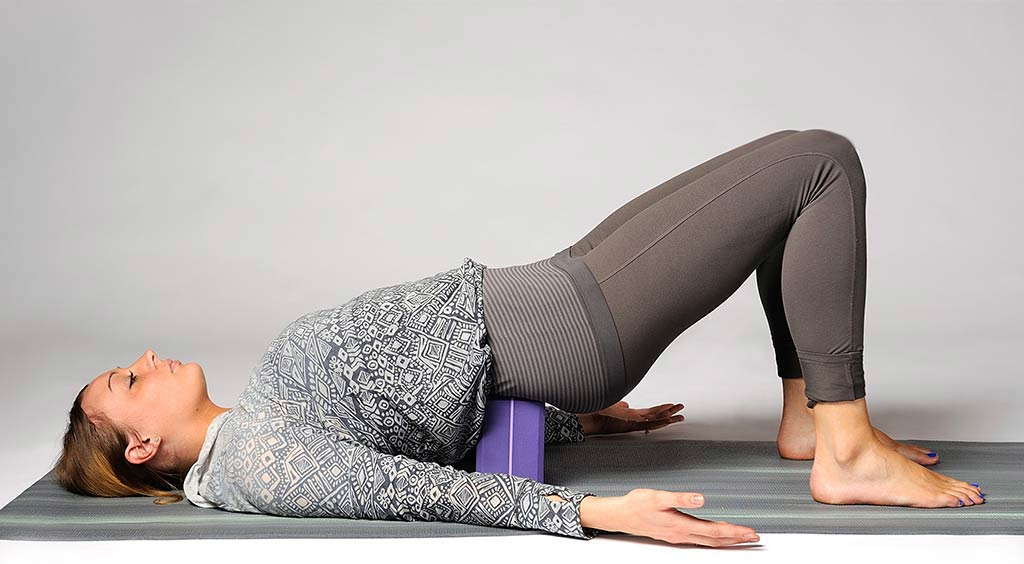
Supported bridge pose is an antidote to our sedentary/sitting lifestyles by allowing the hip flexors to soften and release built-up tension.
- Lie down on your back, bend at the knees, and plant your feet on the ground.
- Lift the hips and place a block/book directly underneath your sacrum.
- The sacrum is the flat, hard surface of your low back; it’s right above the fleshy meat of your bum. The block can be of whatever height you prefer.
- Arms can rest out to your sides, palms up, and let the shoulders relax down to the ground. Keep length in the back of the neck, relax the jaw, and let the tongue float freely.
For a restorative yoga sequence for self-love and honoring the mind, body and spirit, head here.
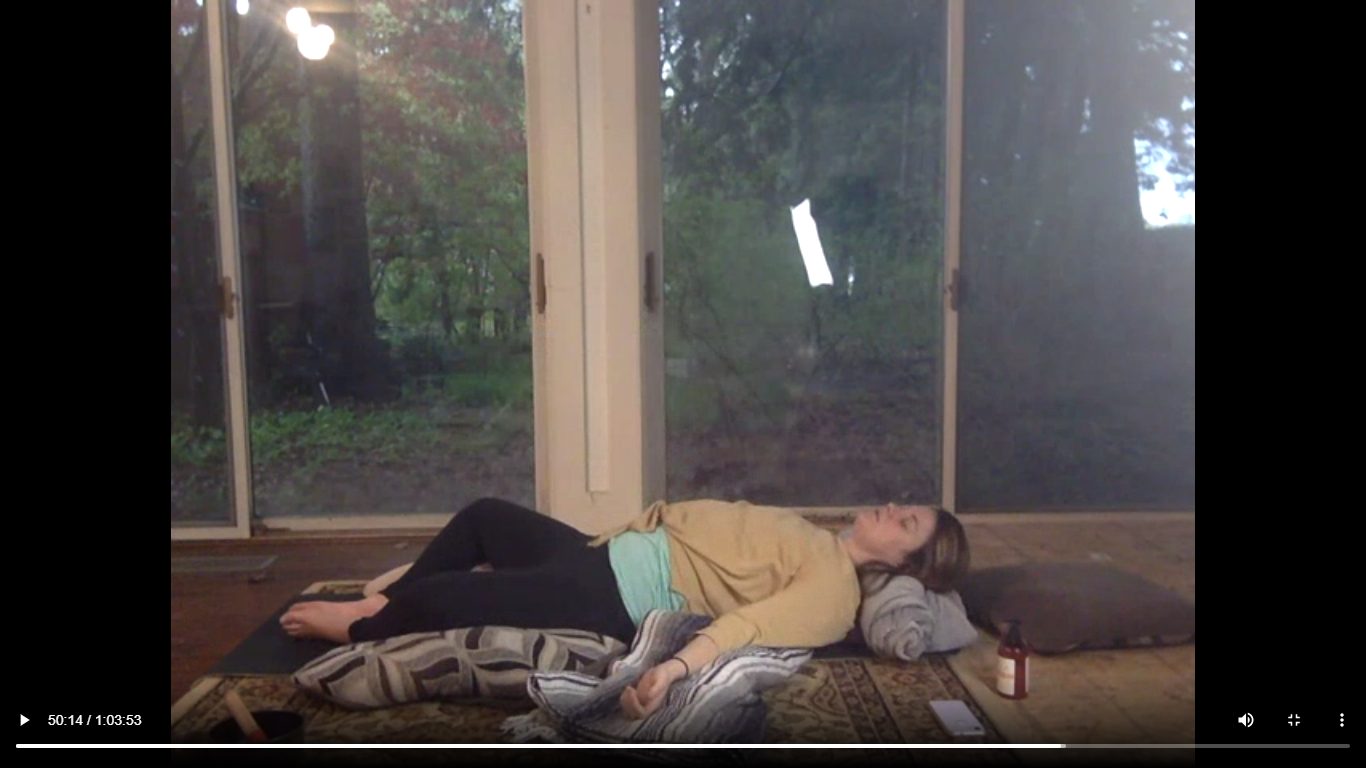
5. Supported Savasana – Recommended duration: 10 minutes.
Savasana connects the entire practice, where life becomes clearer yet softer – it’s the remedy to our busy selves.
- Lie down onto your back.
- Place a bolster directly under your knees.
- Place a blanket under your head for support. Arms can rest by your sides with the palms facing up.
- Close the eyes, take a deep breath in, and let it go.
- Take another big breath, and exhale everything out.
Shavasana is great in combination with Yoga Nidra – in here we’ve included a scientific background of why Yoga Nidra works and a 10 minute guided session for you to try it out.
Shanti Arunkumar Senior Contributor At L’Aquila Active
Learn more about Shanti by reading her bio below.
Click on link below to meet L’Aquila Active’s entire team of experts, including university degrees, certifications, and credentials on yoga and meditation: